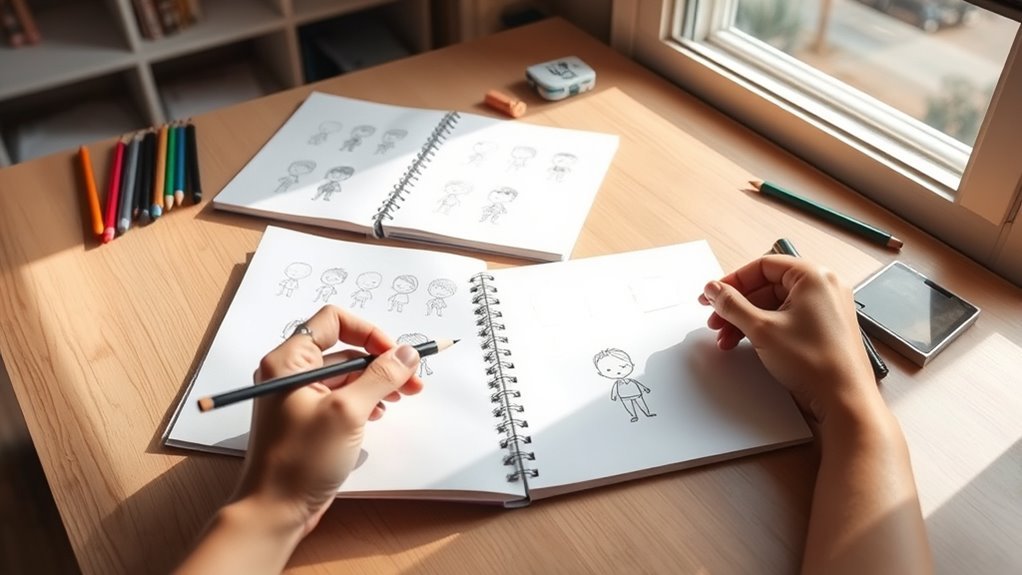
How to Draw Children in 10 Easy Steps for Beginners
Start by sketching a simple oval for the head. Then add light guidelines to place facial features evenly. This helps keep everything balanced as you move forward.
Draw the eyes and eyebrows with natural spacing, followed by the nose and mouth aligned along your guidelines. It’s all about getting those proportions right early on.
Shape the hair and add the neck and shoulders smoothly. These details start to bring your child drawing to life.
Next, outline the torso and clothing, refining details with shading for depth. This adds dimension and character to your sketch.
Finish by cleaning up lines for a polished look. Keep going to uncover more tips that will sharpen your drawing skills!
Key Takeaways
- Start by sketching a child’s head with simple oval shapes and light guidelines to establish proportions and facial symmetry. Position eyes, nose, and mouth using horizontal and vertical lines, spacing features evenly and adjusting shapes for childlike softness.
- Add hair with curved lines around the head, shaping volume and texture to match the child’s hairstyle and natural flow. Draw the neck and shoulders with gentle curves, then sketch the torso using basic shapes and add clothing outlines with simple details.
- Refine facial features and hair with smaller lines, apply shading for depth, and finalize the drawing by inking and erasing guidelines. It’s all about taking your time and layering details to bring your drawing to life.
Sketch the Basic Head Shape
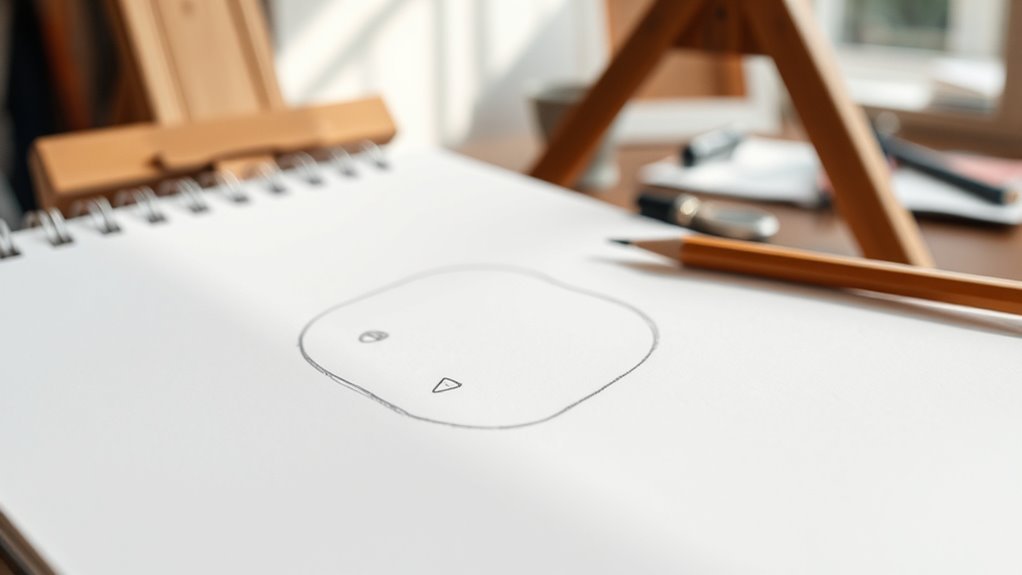
How do you begin drawing a child’s head? Start with a simple oval or circle, making it slightly wider at the top and narrower at the chin to capture a child’s softer proportions.
Next, sketch a gentle curve along the bottom to form the jawline and chin—adjust it depending on the child’s age or head tilt. Use light, smooth lines to keep the outline clean and easy to modify.
Avoid adding details now; focus on the overall shape. To help with balance, divide the head into four equal sections by drawing a vertical line down the center and a horizontal line across the middle.
These light guidelines set the foundation for placing facial features later. Keep it simple and proportionate to make it beginner-friendly.
Draw the Guidelines for Facial Features
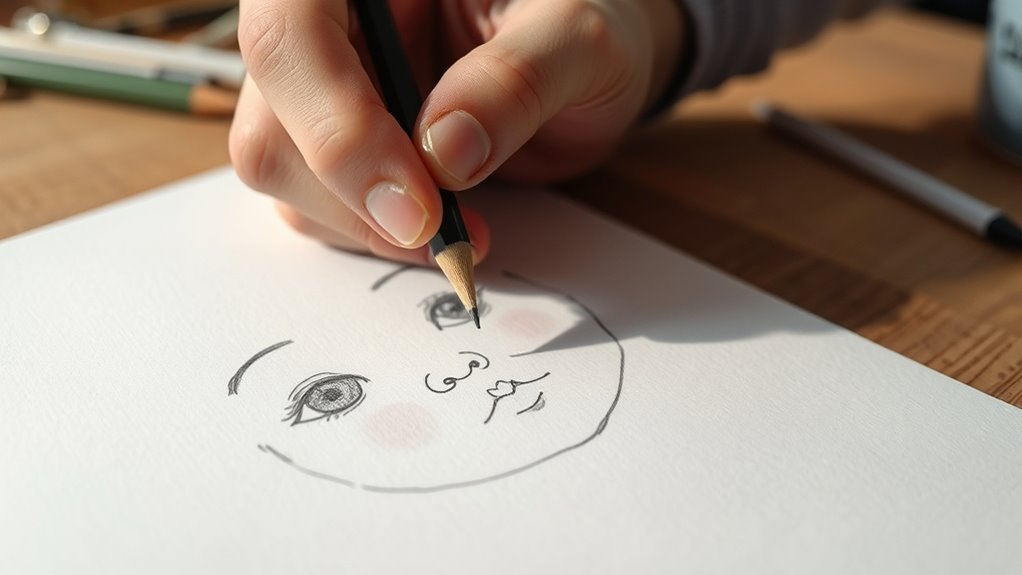
Once you’ve established the basic head shape, you can start drawing guidelines to place the facial features accurately. Begin by sketching a vertical line down the center of the face to guarantee symmetry.
Next, add horizontal lines that divide the face into equal sections, marking the positions for the eyes, nose, and mouth. Place the eyes on the eye line, spacing them about one eye-width apart and aligning them with the centerline.
Add horizontal lines to map the eyes, nose, and mouth, spacing eyes one eye-width apart along the centerline.
Draw the nose just below this line, roughly halfway between the eyes and the chin. Finally, position the mouth along the lower horizontal guideline, centering it between the nose and chin.
These guidelines will help you keep the facial features balanced and proportionate as you continue your drawing. It’s a simple trick, but it really makes a difference!
Outline the Eyes and Eyebrows
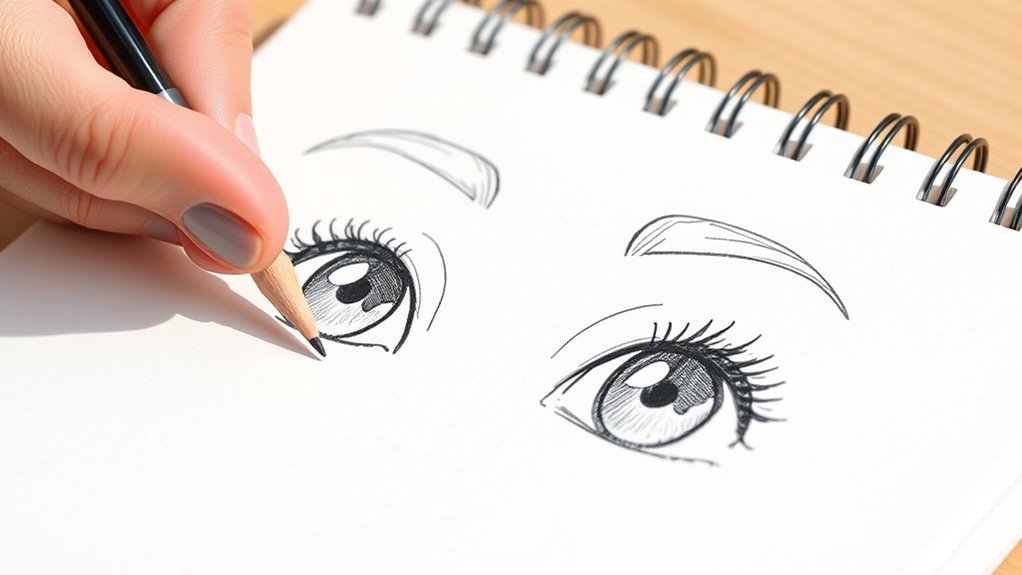
Although drawing eyes can seem tricky, starting with simple almond shapes makes the process easier. Begin by sketching two almond-shaped outlines evenly spaced on the face.
Inside each shape, add a small circle for the iris, positioning them to look straight ahead or slightly to the side. Next, draw the upper and lower eyelids around the almonds to give the eyes a natural curve.
Above each eye, outline the eyebrows by following the natural arch of the brow bone, keeping them proportional to the eye size. You can add simple eyelash details if you’d like, but keep them minimal for a beginner-friendly approach.
- Space the eyes evenly to maintain facial balance
- Shape eyebrows to match the child’s expression
- Use light lines for easy corrections
Add the Nose and Mouth Details
Start by placing the nose just below the eyes, using a simple shape like a small oval or triangle. Keep the mouth straightforward with clean lines, adjusting the curve to show different emotions.
These details bring your child’s face to life and give it personality. It’s amazing how such small touches can make a big difference!
Positioning Nose Correctly
Where exactly should you place the nose to keep your child’s face looking natural? Position it slightly below the halfway point between the eyes and the chin. This placement helps balance the facial features perfectly.
Start by drawing a small oval or rounded shape centered along the vertical guideline from the eyes to the bottom of the face. Use light, guiding lines so you can adjust before finalizing.
After placing the nose, add details like nostrils and subtle shading to create depth. Remember to place the mouth just below the nose, aligning it centrally for proper proportions.
- Position nose just below the midpoint between eyes and chin
- Sketch a centered oval shape along the vertical facial line
- Use light lines first, then add nostrils and shading for dimension
Simple Mouth Shapes
How can you create a simple mouth shape that matches your child’s expression? Start with a gentle, curved line—like a smile or a straight line—depending on the mood you want to show. Keep it smooth and clear to make drawing easier.
Next, add the nose using basic shapes like an oval or circle, positioned between the eyes and mouth. For a friendly look, draw a small, rounded nose with minimal detail.
If you want a bit more realism, include tiny curves to suggest nostrils. Remember, the size and shape of both the mouth and nose can change to reflect different emotions or personality traits.
Expressive Facial Features
Building on the simple mouth shapes you’ve practiced, you can bring more life to your drawing by adding detailed features to the nose and mouth. Start by sketching the nose with simple curved or straight lines based on the child’s expression.
Position the mouth just below the nose, shaping it to reflect emotions like a smile or a frown. Use light guidelines to keep the nose and mouth proportionate on the face.
Adding small details, like nostrils or lip lines, enhances realism and expressiveness. Remember to keep these features harmonious with the overall facial expression to convey the intended emotion clearly.
- Use light guidelines to maintain proper facial proportions
- Shape the mouth to match emotions such as happiness or surprise
- Add nostrils and lip lines for realism and depth
Shape the Hair and Hairline
Once you’ve outlined the child’s head, start shaping the hair and hairline by drawing a light, curved line along the forehead that suits the hair type—whether straight, wavy, or curly. Keep the hairline slightly higher and softer to reflect youthful features.
Use gentle strokes for a natural progression from forehead to hairstyle. Next, sketch the hair’s overall shape around the hairline, adding volume and texture that fit the chosen hairstyle.
| Hair Type | Hairline Shape |
|---|---|
| Straight | Smooth, gentle curve |
| Wavy | Soft, undulating line |
| Curly | Irregular, rounded edges |
This approach guarantees the hair looks natural and youthful, enhancing your child’s portrait. Give it a try, and watch the character come to life!
Create the Neck and Shoulders
As you finish shaping the head and hair, start sketching a gentle curved line to form the neck, linking the head smoothly to the shoulders. Next, draw two slightly curved lines extending downward from the neck to outline the shoulders’ sides.
Add horizontal lines at the base of the neck to mark where the shoulders begin. To give more structure, use simple shapes like ovals or rectangles for the shoulder area.
Always keep the shoulders proportionate to the head and neck, adjusting their width according to the child’s age and pose. Use soft curves for a natural, childlike neck shape.
Keep shoulder width narrow for younger children. Combine simple shapes to create a balanced, clear shoulder outline.
Sketch the Arms and Hands
After shaping the neck and shoulders, you can move on to sketching the arms and hands. Start by drawing simple lines that follow the natural pose of the child’s arms. Keep your strokes light and loose so you can easily adjust the shapes as you progress.
For the hands, sketch small, rounded shapes first, then add fingers using short, tapered lines to keep things simple. Pay close attention to how the arms relate in size to the body to maintain good proportion and balance.
Gradually add details like fingers and fingernails, but keep your lines clean and easy to modify since you’re just starting out. This approach helps you build a solid foundation before refining your drawing further.
Draw the Torso and Clothing
Start by sketching simple shapes like ovals or rectangles to form the torso and set the child’s proportions. Then, add clothing details by following the body’s contours. Include folds and creases for realism.
Use light lines for collars and sleeves, and don’t forget to erase guidelines to keep your drawing clean. It really helps make your artwork look polished and neat!
Sketch Basic Torso Shapes
Begin by sketching a simple, elongated oval or rectangle to capture the basic shape of the child’s torso. This foundation helps you establish the body’s proportions and posture.
Next, add light guidelines for the shoulders and waist to define where the torso bends and narrows. Keep your lines smooth and simple, focusing on basic shapes that make it easier to build the full figure later.
Then, outline the clothing gently over the torso shape, like a T-shirt or dress, following your initial structure. Use light strokes to suggest folds and seams, adjusting them to fit the torso’s form naturally.
Remember, simplicity is key at this stage to maintain flexibility as you refine your drawing.
- Use light lines to avoid committing too early
- Focus on smooth, basic shapes for clarity
- Mark shoulder and waist positions for accurate posture
Add Clothing Details
To add clothing details, sketch the torso’s basic shape with simple lines or a rounded rectangle, then carefully draw the neckline, sleeves, and waistline. Notice how the fabric fits and folds over the body.
Add buttons, pockets, or patterns to bring the clothing to life. Use light shading or lines to show creases and wrinkles, giving the clothing a natural look.
Make sure the clothing matches the child’s pose and proportions for a balanced drawing. It really helps to pay attention to how the fabric behaves with movement.
| Clothing Element | Tips for Drawing |
|---|---|
| Neckline | Follow the torso shape, vary styles |
| Sleeves | Show folds where arms bend |
| Waistline | Indicate slight fabric bunching |
| Details | Add buttons, pockets, patterns |
Refine Details and Add Shading
How can you bring your child’s drawing to life with more realism? Start by refining the details. Gradually add smaller lines that capture facial expressions, hair strands, and clothing folds. These features make the drawing more believable.
Next, introduce subtle shading techniques like hatching or cross-hatching to give depth and dimension. Focus shading on areas where light is scarce to emphasize shadows, giving your drawing a three-dimensional look.
To soften gradients, blend the shading gently with a stump or your finger. Build up layers gradually to achieve a natural, detailed finish.
Consider these tips to enhance your drawing:
- Add delicate lines for facial features and hair texture
- Use shading to highlight light and shadow contrasts
- Blend shading smoothly for softer, realistic surfaces
Finalize the Drawing With Clean Lines
Once you’ve refined the details and added shading, it’s time to give your drawing a polished look by tracing over the final lines with a fine-tipped pen or marker. Carefully follow your sketch’s smooth, confident lines, adjusting thickness to emphasize features like the face and clothing.
Varying line weight adds depth and interest, but keep it consistent overall to ensure a cohesive appearance. After inking, gently erase any remaining pencil marks to reveal clean, crisp outlines.
Take a moment to review your work—redraw or smooth out any uneven or shaky lines to achieve a professional finish. By finalizing your drawing with clean lines, you transform your sketch into a clear and vibrant illustration of children that’s ready to impress.
Frequently Asked Questions
How to Draw Children Easy Step by Step?
Start by sketching simple shapes for the head and body, then add facial features and hair. Lightly outline limbs, erase extra lines, and emphasize details.
Finally, add shading or color to complete your drawing. It’s easier than you might think once you get the hang of these steps! Just take your time and have fun with it.
What Can 9 Year Olds Draw?
You can draw simple characters, animals, and everyday objects using basic shapes. At nine, you’re great at creating faces, bodies, and even shading.
Try superheroes, animals, or fantasy scenes to practice and have fun! It’s all about exploring what you enjoy and getting better with each drawing.
What to Draw for 7 Year Olds?
You should draw simple, fun subjects like stick figures, animals, or favorite cartoon characters. Use basic shapes to keep it easy and engaging.
Add themes like superheroes or fairy tales to spark creativity and excitement. It makes drawing feel like an adventure!
What Are the 5 Drawing Techniques Step by Step?
You’ll conquer drawing like a superhero! First, sketch basic shapes. Then, outline features lightly.
Next, add details with quick strokes. After that, shade softly for depth.
Finally, refine and erase extra lines for perfection. You’re getting better with every step!
Conclusion
By following these simple steps, you’ll see that drawing children isn’t as hard as it seems. You might think talent is everything, but the real secret lies in practice and observation.
As you sketch each feature, you’re not just creating an image—you’re capturing the innocence and energy unique to childhood. So keep practicing, and remember: every line you draw brings you closer to portraying the genuine spirit behind your art.
Drawing children can be fun and rewarding once you get the hang of it. With patience and these easy steps, beginners can improve quickly and enjoy the process. Keep practicing, stay observant, and soon you’ll find your drawings full of life and character.